Smart Glasses
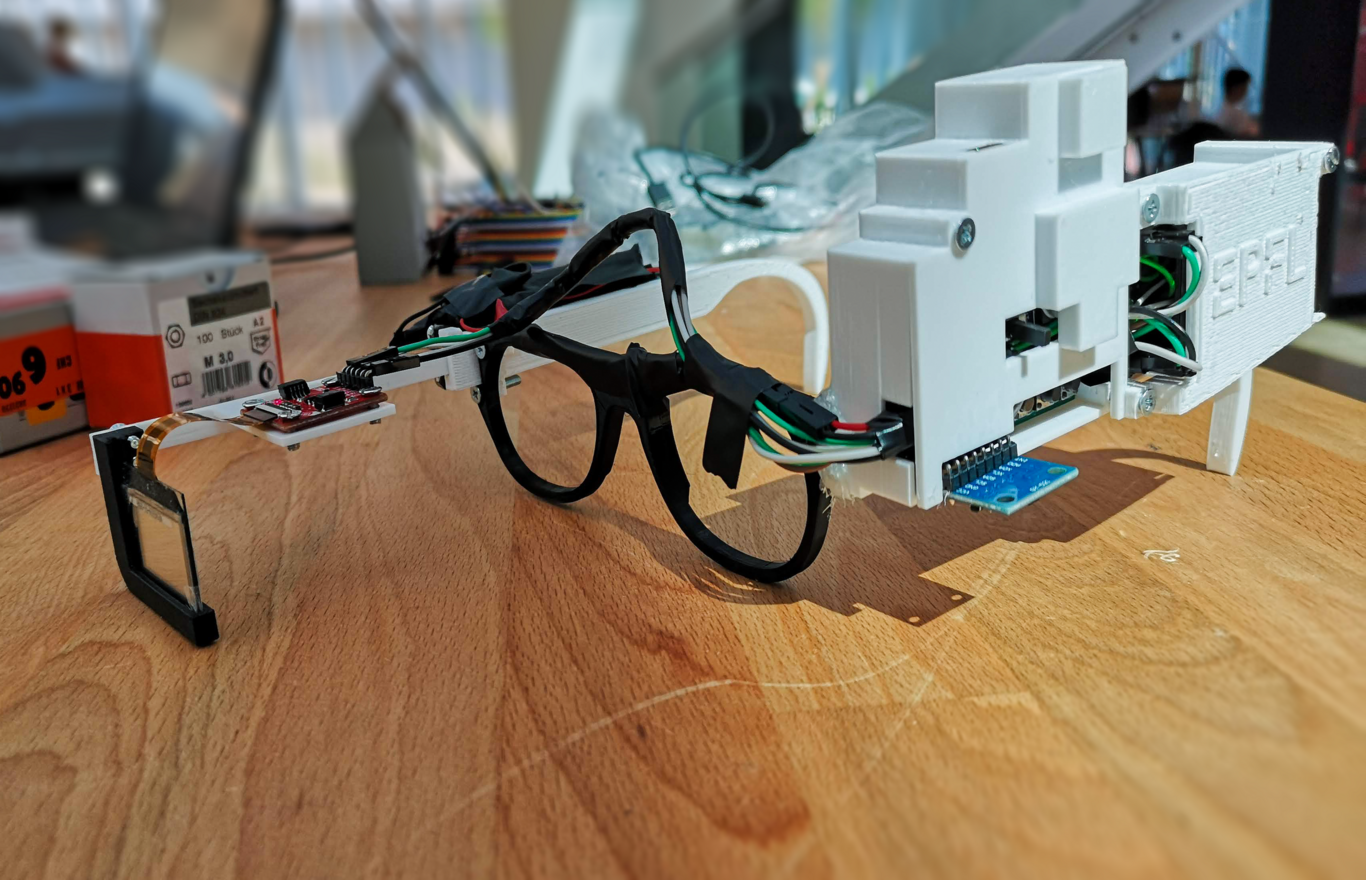
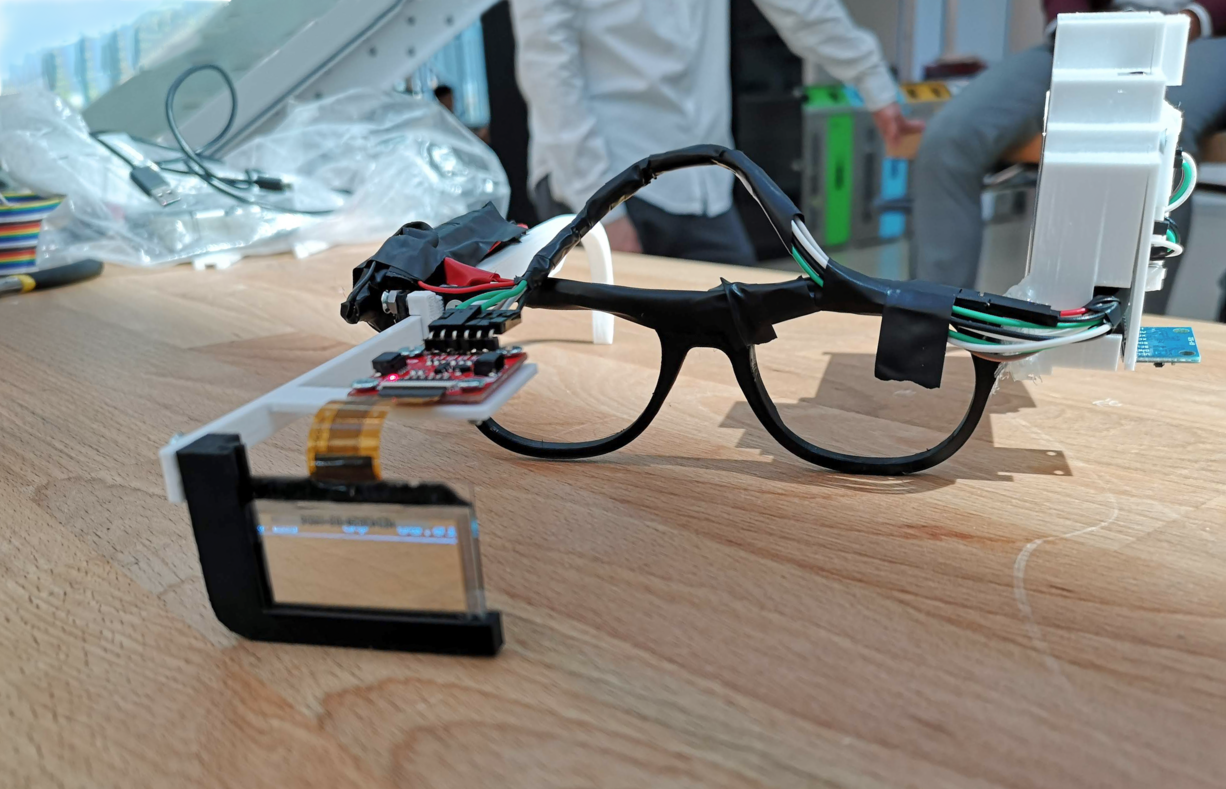
Smart Glasses are, as their name suggests, a pair of glasses built to keep you more easily in touch with your surroundings.
This project was built for the EPFL course CS-358 “Making Intelligent Things”. Weekly feedback and supervision was done by Federico Stella, and Q&A sessions were organised by Prof. Koch.
The team

Paolo Celati
Hardware design

Tim Vaughan-Whitehead
3D & graphic design

Victor Garvalov
Firmware development

David Chernis
Android development

Shrey Mittal
Android development
Site Structure
The project naturally partitioned itself into four different parts, namely hardware/electronics, 3D design, firmware and software. As such, a quick start guide can be found under Quick Start, giving a straigthforward explanation on how to recreate the glasses. A deeper explanation of the challenges and solutions applied to each one of them can be found in their relevant Dive Downs.
While reading those, you might notice several interesting features have been cut off - this is mainly due to lack of time and the need for a stable build by the end of the course. If you intend to build this project, and would like to add even more features, take a look at our Project Proposal which we used to present the project before it was accepted by the course’s teaching team. It contains several ideas that we didn’t have time to implement, such as custom PCB, or additional localization features.
On that note, I wish you a nice read-through!